
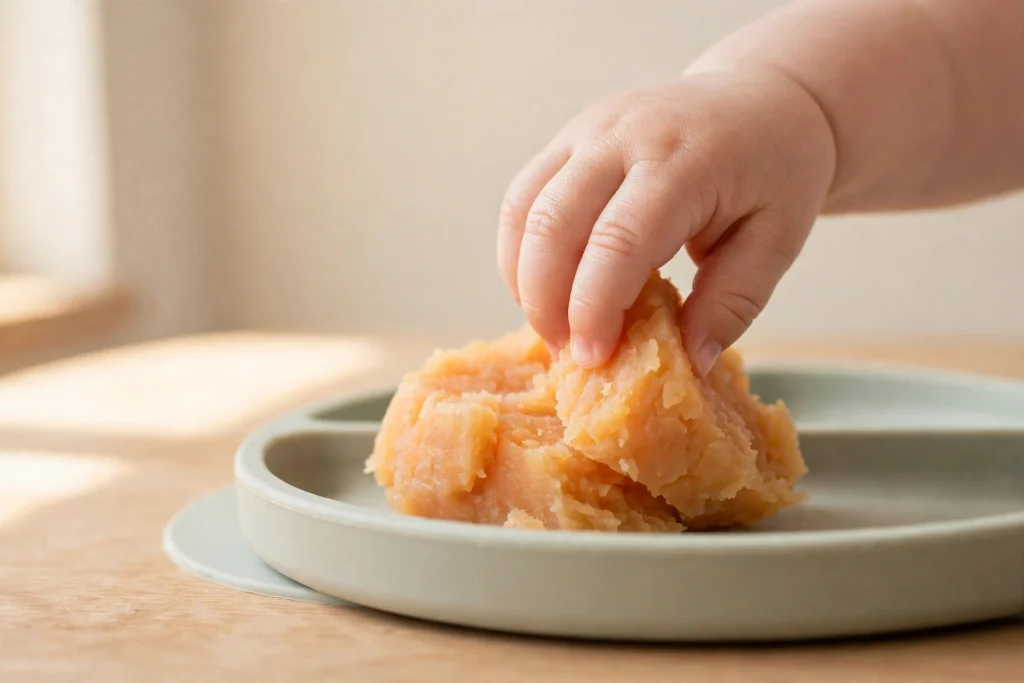
Short answer: the pincer grasp is the thumb-and-finger pickup your baby uses for small things — a soft pea, a crumb, a puzzle knob. Here is what it is, when it appears, and 15 safe ways to practise it.
Quick facts
- Ages: mostly 8–18 months
- Cost: free — ordinary household things
- Screen-free: yes — every idea on this page
- Skills: the thumb-and-finger grip behind self-feeding — and, one day, holding a pencil
What is the pincer grasp?
Watch a baby pick up a single pea and you are watching the pincer grasp. Instead of scooping with the whole hand, your baby brings the tip of the thumb and the tip of the first finger together and lifts the pea cleanly between them — like a tiny pair of tweezers. That neat little pinch is one of the most useful movements your child will ever learn, built from months of everyday reaching and grabbing.
It does not arrive all at once. Long before the true pinch, babies use a raking grip: they spot something small, sweep the whole hand towards it like a rake, and drag it into the palm with curled fingers. Raking comes first — somewhere in the middle of the first year — and it is not a wrong way of doing it; it is the scaffolding the pincer grasp is built on. Gradually the fingers take over from the palm, the thumb gets involved, and the rake tidies itself into a pinch.
Why does one small grip matter so much? Because an astonishing amount of daily life runs through it. It is how your child will feed themselves finger foods and manage peas, beans and bits of toast. A year or two later it is behind turning a book’s pages, pulling up a zip, doing and undoing big buttons. And years after that, the same thumb-and-finger team — strengthened by all this early practice — holds a pencil. Nobody needs to drill a baby towards a pencil grip: this little pinch simply deserves plenty of chances to practise, because your child will use it every day for life.
The information on this page is general information for parents, shared for learning and activity ideas. It is not medical advice, and it does not replace the guidance of a qualified professional. Every child develops at their own pace — if you have any concern about your child’s development, please talk to a qualified doctor or child-development professional.
When does it usually appear?
For most babies, the first true pincer grasp — thumb tip to fingertip, lifting something small cleanly — shows up somewhere around 9 to 12 months. The untidier versions arrive earlier: raking in the middle of the first year, then a “scissor” grip using the side of the thumb, then the neat pinch itself. By the middle of the second year, most toddlers pick up small bits confidently and use the grip for real jobs like self-feeding.
Treat those ages as a landscape, not a timetable. Babies reach this grip at noticeably different times, and the order of events matters more than the dates: raking before pinching, pinching before precision. A baby who spends longer raking is gathering exactly the strength and aim the pinch needs. Premature babies usually follow their own adjusted timeline. Signposts, not scores — the pinch will come, and the ideas below make sure it gets plenty of invitations.
At the table
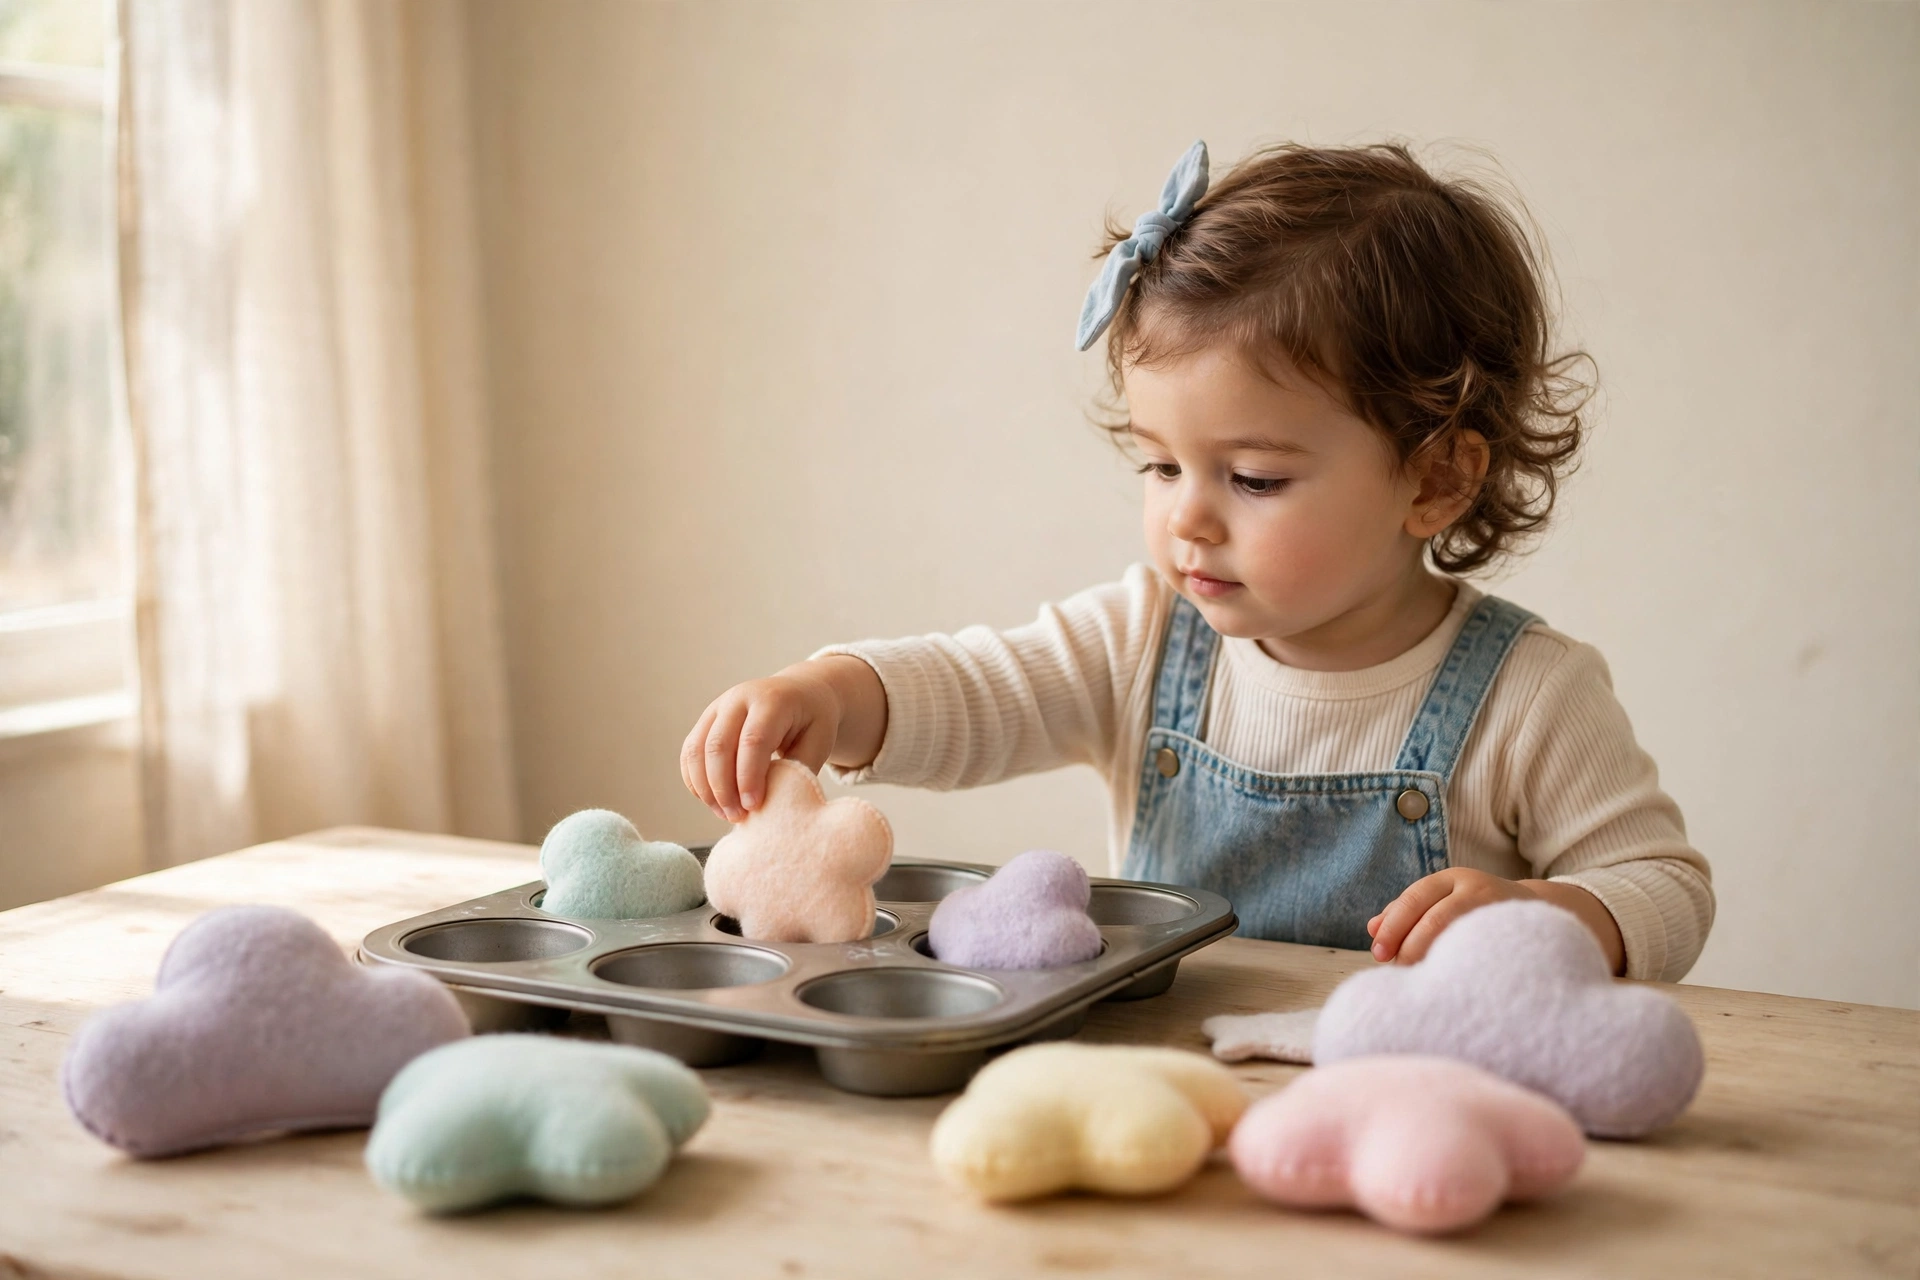
Mealtimes are the pincer grasp’s practice ground: your baby is seated, interested, and surrounded by small things worth picking up. Seven easy ideas — all with you right there.
1. Finger-food pickup practice
Scatter a few big, soft pieces on the tray — steamed vegetable sticks, ripe banana pieces, soft toast fingers — and let your baby pick them up one at a time. Soft is the test: a piece is ready when you can squash it easily between your own fingers. Stay beside your baby for every bite — the fumbling is the practice.
2. The muffin-tin treasure tray
Put one big soft piece into each cup of a muffin tin and set the tin on the tray. Lifting a piece out of a cup takes more aim than lifting it off a flat surface — a gentle step up. Banana, soft melon and well-cooked pasta shapes work well. You are right there throughout — a mealtime game, never a leave-them-to-it one.
3. Bowl-to-bowl treasure transfer
Give your baby two bowls and a handful of big pieces — soft fruit chunks or chunky cereal pieces made for babies — and let them move the treasure bowl to bowl. Some pieces will be eaten en route; entirely within the rules. Big pieces only: anything that fits inside a cardboard toilet-roll tube is too small for under-3s.
4. Tearing soft foods
Offer soft bread, a pancake or soft flatbread and let your baby tear it apart with both hands before eating the pieces. Tearing looks like destruction, but it is serious fingertip work — both hands pull opposite ways while thumb and finger hold on. Start the tear if the food is stubborn, then hand over the satisfying part.
5. Peeling practice
Start an easy-peel clementine or banana — lift the first bit of peel yourself — then let your baby pull the peel down and pick out the segments. Peeling asks for a pinch, a pull and patience at once, and the prize is edible. Soft, ripe fruit only, segments broken small, and you stay close while they eat.
6. Sticky-note peeling at the table
Stick a row of large sticky notes along the table edge or high-chair tray and let your baby peel them off one by one. Peeling is almost pure pincer grasp — a corner caught between thumb and finger, then a slow, satisfying pull. Use the biggest notes you have, take each one away as it comes off, and keep paper out of mouths.
7. Posting at the table
While you finish preparing a meal, give your baby a wide container and a few big, safe things to post into it — chunky rings, big soft balls, wooden spoons dropped in handle-first. Posting is picking up with a purpose: pinch, carry, aim, release. Choose everything by the toilet-roll rule — if it fits inside the tube, it is out.
In play
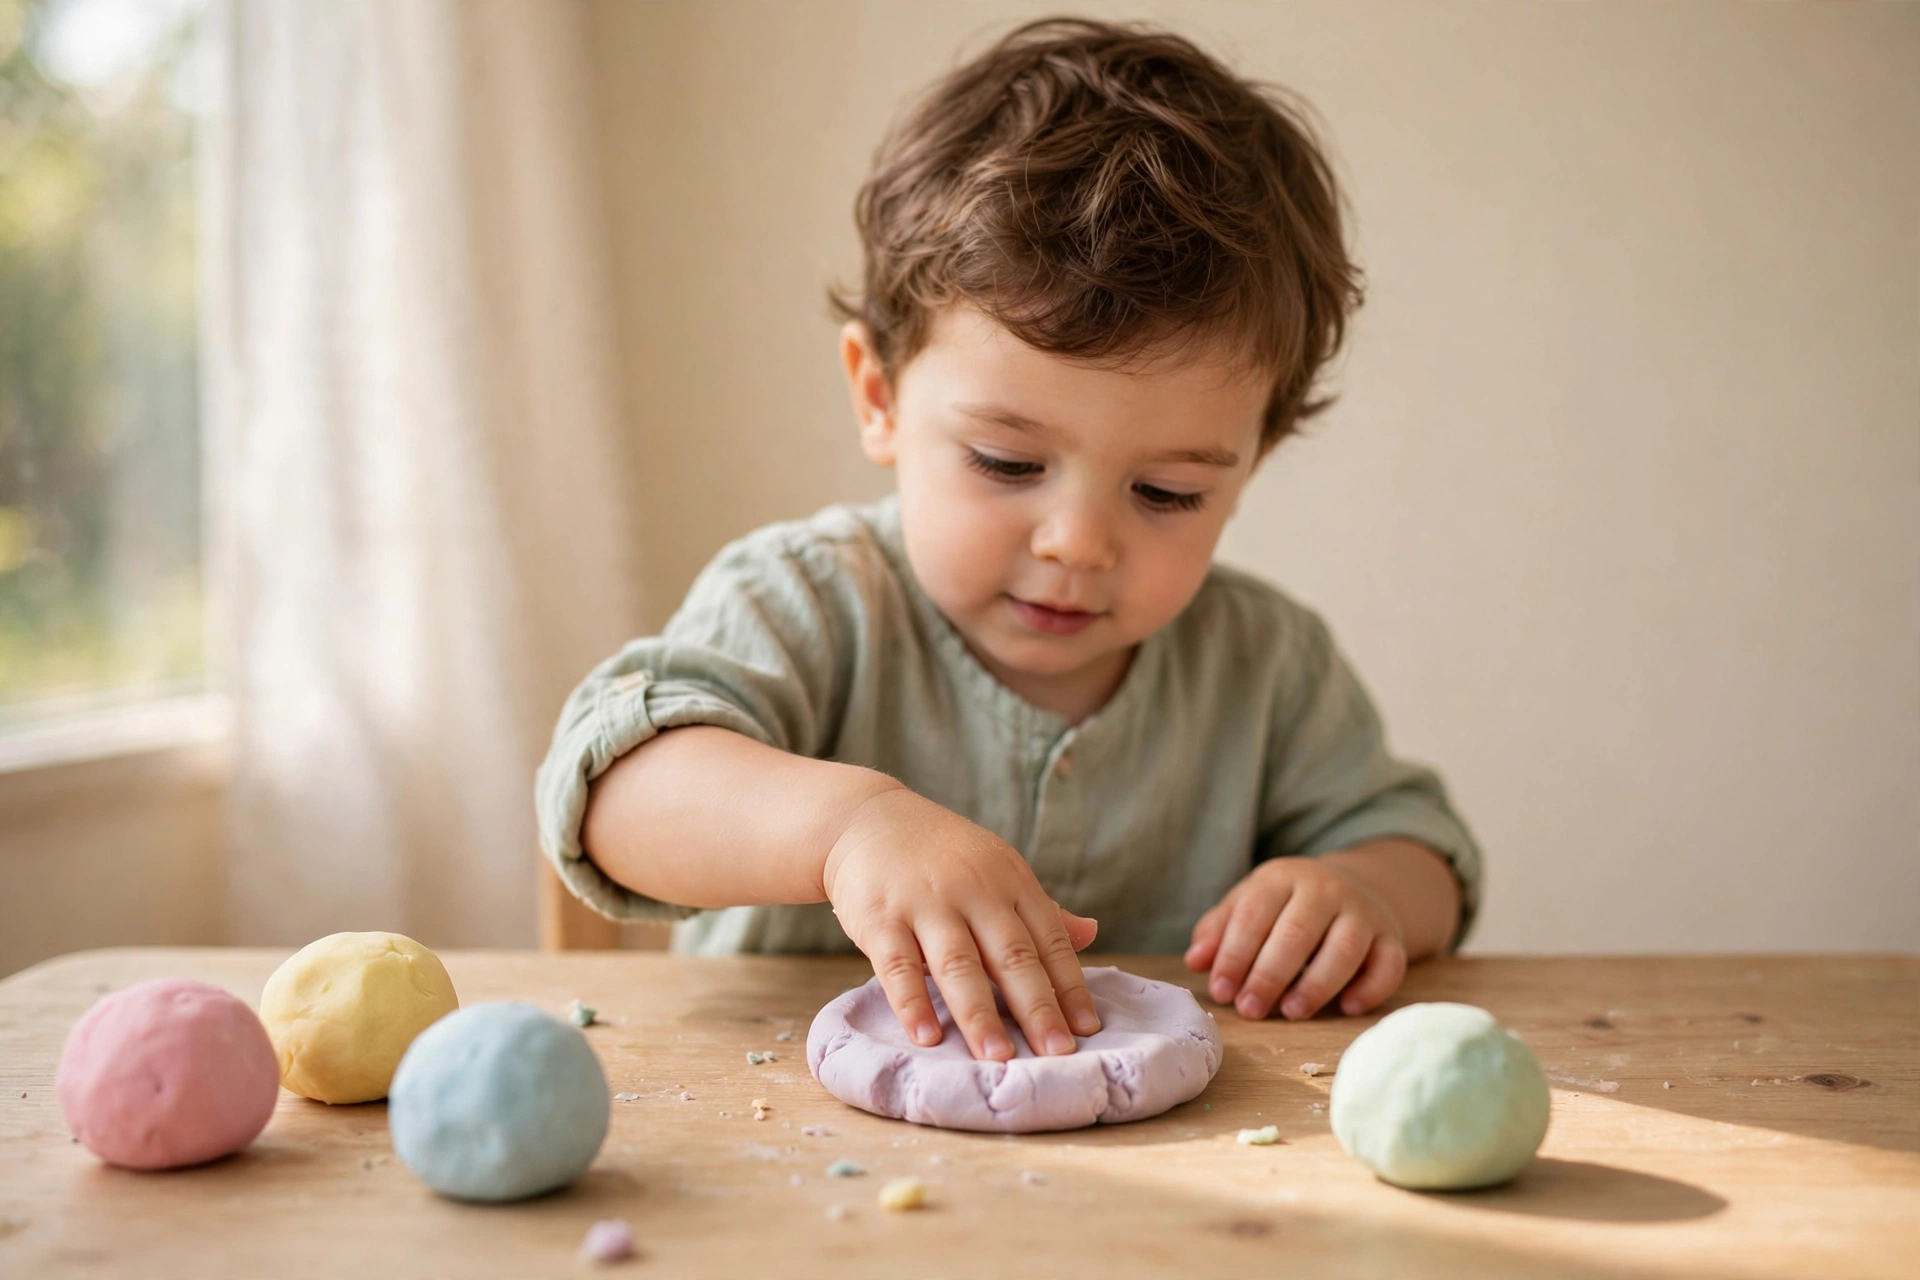
Away from the table, the same grip gets practised through play — pinching, peeling, squeezing and turning. Eight ideas, all from things most homes already have.
8. Chunky knob puzzles
A simple wooden puzzle with big knobs is the pincer grasp dressed up as a toy: each piece lifts only by its knob, pinched between thumb and finger. Start with two or three pieces out, and celebrate every piece that lands anywhere near its hole. Retire the puzzle if a knob ever works loose.
9. Big sticker peeling
Large dot stickers are wonderful pinch practice: catching the edge of a sticker, peeling it off the sheet and pressing it onto paper uses the thumb-and-finger team. Start the peel if the edge is tricky, and use the biggest stickers you can find. Peel strays off skin and clothes together afterwards — and keep stickers out of mouths.
10. Playdough pinching
Roll a soft ball of playdough and show your child how to pinch off pieces, roll small balls and flatten them with a thumb. Pinching dough is resistance training for little fingers — it pushes back just enough to build strength. Supervise mouthers closely (dough is for hands, not snacks), and keep pinched-off pieces big.
11. Sponge squeezing
In the bath or at a bowl of water, give your child a sponge to squeeze, dunk and squeeze again. Squeezing works the gripping muscles the pincer grasp relies on — and the water makes it irresistible. Stay within arm’s reach throughout; the game ends when the water goes.
12. Big bead threading
Threading chunky beads onto a stiff lace is classic pincer work: one hand pinches the bead, the other holds the lace, and both must cooperate. Choose beads far too big for a toilet-roll tube, keep the lace short and knotted at one end, and always thread together — laces are never left with a child alone.
13. Turning board-book pages
Thick board books are quietly excellent pincer practice: turning one page at a time means catching its edge between thumb and finger and sweeping it over. Choose the sturdiest books, expect some doubled-up pages and some chewing — retire books that start to peel — and let your child turn while you read.
14. Lids on, lids off
Collect a few clean containers with big lids — screw-top tubs, press-on lids, a wide jar — and let your child twist, press and pull the lids off, then try to replace them. Lids ask for a strong pinch, a steady other hand and real problem-solving. Big, light containers only, checked for cracks first.
15. Big peg posting
Push chunky toddler pegs into a big peg board, or post oversized pegs and balls through a posting box’s wide slots. It is the table posting game grown up: pinch, aim, push, and the deep satisfaction of the drop. Everything stays big by the toilet-roll rule, and the set is packed away afterwards.
Staying safe with pincer practice
- Anything a small child can pick up will go to the mouth. Plan every pincer game as if it will be tasted, because it will.
- The toilet-roll rule decides what is big enough: if an object could fit inside a cardboard toilet-roll tube, it is too small for a child under 3.
- Finger foods for practice must be soft (squashable between your fingers), cut into baby-sized pieces, and eaten with you right there — hard, round foods are a choking risk, not practice materials.
- Coins, buttons, batteries and magnets never join pincer games — a quick floor check before play keeps them out of reach.
- Supervision is the safety equipment: every idea on this page is a together activity, at the table or on the floor beside you.
When to mention it to a professional
Almost every baby gets there in their own time, and the gentle range on this page — raking first, a true pinch around the end of the first year, confidence through the second — covers most journeys. If, by the middle of the second year, your child is not yet picking up small bits with their fingers at all, or if anything about your child’s hands, movement or development worries you at any point, mention it to your doctor or health visitor. That is not a deadline or a diagnosis — it is simply what those check-ups are for, and a professional who knows your child gives better guidance than a web page.
Practise the whole hand, too
The pincer grasp is one part of a bigger story: everything your child does — squishing, scribbling, stacking, stirring — builds the strength and control later skills stand on. For the next chapter of ideas once the pinch is confident, see our 25 Fine Motor Activities for Toddlers — the same household things, aimed at busy toddler hands.
Pincer grasp — questions parents ask
What age do babies develop the pincer grasp?
Most babies show the first true pincer grasp — picking something small up neatly between thumb-tip and fingertip — somewhere around 9 to 12 months. Before that comes the raking grip, where the whole hand sweeps small things into the palm, usually in the middle of the first year. Confidence and accuracy then build through the second year. Every baby runs on their own clock: the order (raking, then pinching) matters much more than the exact month.
Is the raking grip normal before the pincer grasp?
Completely normal — it is the expected step before it. Raking is how babies first manage small things, and it builds the hand strength, aim and finger control the true pinch grows out of. You do not need to correct it or shape your baby’s hand into a pinch; offer plenty of safe things to rake and grab, and the grip tidies itself up in time.
Can practising speed up the pincer grasp?
Play cannot hurry development — hands pinch when muscles, coordination and interest line up, and no amount of practice moves that date in a way worth chasing. What practice does is give the skill plenty of chances the moment it emerges: more repetitions, more confidence, more fun. Think invitations, not exercises — scatter the opportunities and let your baby set the pace.
Read next
- Child Development — our gentle development guides for the 0–5 years
- What Age Is a Toddler? — the stage your baby is growing towards, explained band by band
- Baby Activities — simple play ideas for the whole first year, month by month