
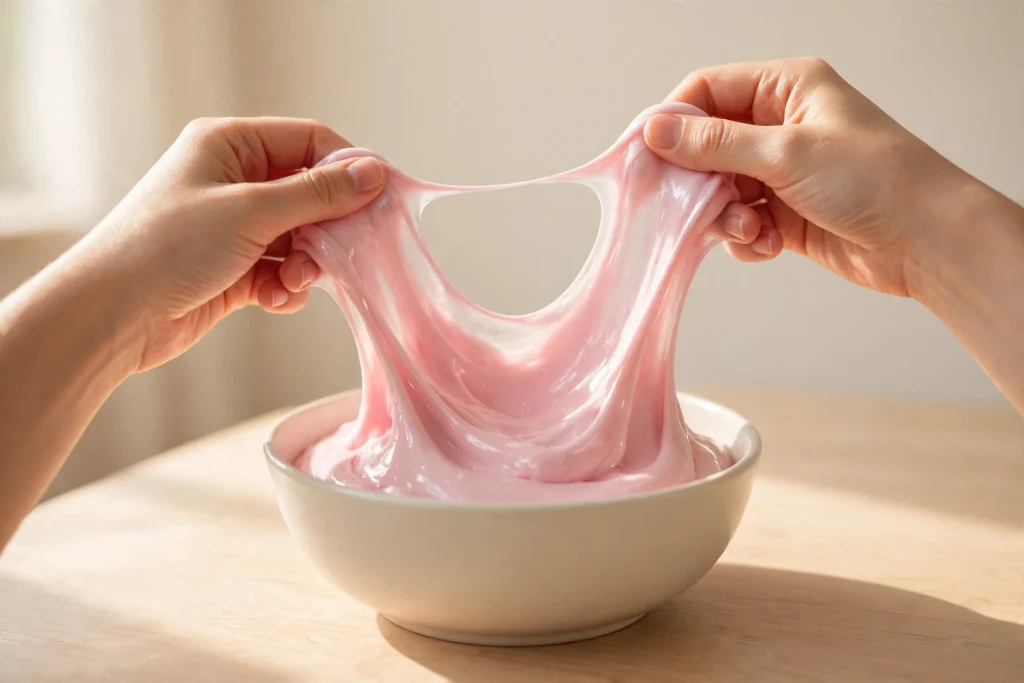
Short answer: A grown-up makes this sensory play slime by mixing 150 ml of PVA glue with ½ teaspoon of bicarbonate of soda, then stirring in contact-lens saline a spoonful at a time until it turns stretchy. Ten minutes, one bowl — proper slime for ages 3–5.
Quick facts
- Ages: 3–5 years, with a grown-up making it
- Prep: 10 minutes
- Makes: one batch — about a cup (one good handful)
- Keeps: 1–2 weeks in an airtight tub
- Mess: contained — play on a tray
Before you start — the honest safety bit
Slime is wonderful sensory play, but on a blog for under-5s it comes with honest rules, so here they are up front. A grown-up makes this slime — measuring, mixing and kneading are adult jobs; children join in once it is made. It is for ages 3–5 only. Under-3s explore the world by mouthing everything, and slime must never be eaten, so it is simply not a toddler material. If your child is under 3, skip this page and use our sensory activities for toddlers instead — every idea there is chosen to be safe for mouthers. Wash hands before and after playing, play on a tray at a table, and keep slime away from sofas, carpets, hair and pets. If slime ever makes your child’s skin red or itchy, stop, wash it off, and throw the batch away — some skins just don’t get on with it. An adult stores the finished slime in its tub, out of younger children’s reach.
What you need
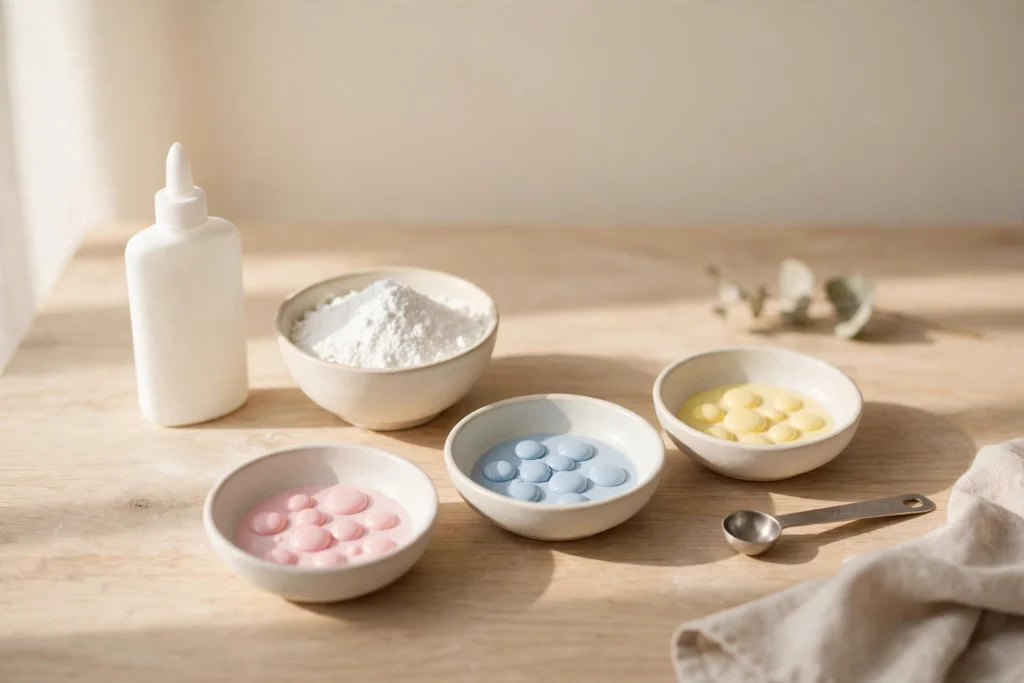
- 150 ml (about ⅔ cup) PVA washable school glue — the ordinary white or clear school glue; “washable” matters for cleanup later
- ½ teaspoon bicarbonate of soda (baking soda)
- 1–2 tablespoons contact-lens saline solution — with one important check, below
- Food colouring — a few drops, optional
- Fine glitter — optional, best for ages 4–5
- Equipment: a mixing bowl, a spoon, a measuring jug or cup, and a tray for playing on
The saline check — please read this bit. The saline is what turns glue into slime, but only the right kind works. Look at the ingredients list on the bottle: it must say boric acid and/or sodium borate. Those buffered ingredients are the activator. Plain saline — the sort sold just for rinsing — does not contain them and will not work, no matter how much you pour in; you will simply have scented glue soup. Most contact-lens solutions and multipurpose lens fluids do list boric acid, so one look at the label before you start saves the whole batch.
Method
1. Glue in the bowl. Pour the 150 ml of PVA glue into the mixing bowl. If the bottle is nearly empty, a tablespoon of warm water shaken inside it will coax out the last of the glue — a slightly thinner start makes no difference here.
2. Add the colour. Stir in your food colouring a few drops at a time until the glue is the shade you want — colours come out paler in slime than they look in the bowl, so go a shade bolder than the result you’re picturing. Stir in the glitter now too, if you’re using it.
3. Mix in the bicarbonate of soda. Sprinkle the ½ teaspoon of bicarbonate of soda over the glue and stir until it has completely disappeared. This step matters: the bicarb firms the slime up and helps the activator do its job evenly, with no gritty patches.
4. Add the saline, a spoonful at a time. Pour in 1 tablespoon of the contact-lens saline and stir steadily. The mixture will start to thicken, string and pull away from the sides of the bowl. Keep stirring, then add the saline a teaspoon at a time until the slime forms one soft ball that mostly leaves the bowl clean — most batches need between 1 and 2 tablespoons in total. Add slowly: too much saline makes slime stiff and rubbery, and you cannot take it back out.
5. Knead for 2–3 minutes. Lift the slime out and knead it in your hands — stretch, fold, press, repeat. It will feel sticky and stringy for the first minute; this is normal and nearly everyone wants to give up here. Keep kneading. By minute two or three it turns smooth, stretchy and clean to handle.
6. Rest it for 5 minutes. Pop the slime back in the bowl and leave it alone for five minutes. Resting lets the last of the stickiness settle and the texture even out. A batch that still feels slightly tacky after resting usually fixes itself in the first minutes of play, as warm hands work it.
7. Time to play. Tip the slime onto the tray and hand it over — stretching, pressing and snipping ideas are below. The grown-up’s job is done; the stretching department is now fully staffed by a preschooler.
Troubleshooting
Too sticky? The most common problem, and nearly always an easy fix. First, knead for another full minute — fresh slime is always stickier than rested slime. Still sticky? Add the saline a few drops at a time, kneading well between drops, until it firms up. Clean, dry hands also help; slime sticks far more to damp or lotion-covered hands.
Too firm or rubbery? Too much saline went in. Knead in a small squirt of extra PVA glue — about a teaspoon at a time — until the stretch comes back, or rest the slime in a sealed tub overnight, which softens some batches. Next time, add the saline even more slowly.
Too runny? Work in a tiny pinch more bicarbonate of soda and a few more drops of saline, then knead hard for two minutes. If it is still soup after that, the saline is usually the culprit — check the label for boric acid or sodium borate (see “What you need”). Without those ingredients, no amount of stirring will set it.
Gone watery after a few days? Normal. Slime slowly breaks down as it is played with and stored, and a puddle of liquid in the tub is its way of saying it is finished. Throw it out and make a fresh batch — it is a ten-minute job.
Dried-out edges? Pick off any dry or crusty bits before play. If the whole batch has gone stiff and dry, it is bin time — dried slime does not revive.
Ways to play with it
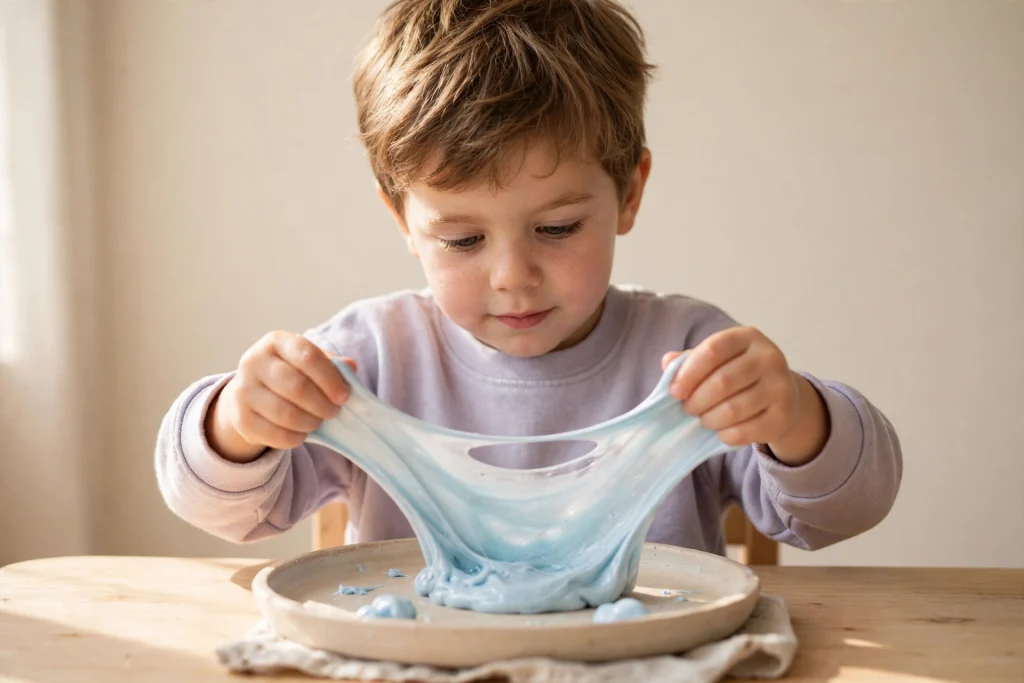
Slime earns its place as sensory play because of what small hands do with it — pulling, pressing and shaping it is a proper hand workout, and the slow, stretchy feel of it is calming in a way few materials are.
1. Stretch and snap. Pull a piece of slime slowly for a long, thin stretch, then pull it fast and watch it snap. Slow stretches and quick snaps teach little hands cause and effect — and the slow stretch is the calming, focused bit.
2. Handprints and pressings. Flatten the slime on the tray and press a whole hand into it, fingers spread, then peel the slime up and look at the print. Press in shells, big buttons or the ridges of a fork for patterns.
3. Scissor snipping. Roll the slime into long ropes and let your child snip them into pieces with child-safe scissors. Slime cuts slowly and satisfyingly, with none of the tearing frustration of paper — excellent first scissor practice, and always sitting down, supervised.
4. Sausages and coil pots. Roll slime into sausages, then coil one round and round into a little pot or nest. Coiling is fiddly, satisfying finger work, and the pots make homes for toy animals for about ten seconds before being squashed and made again.
5. Hide and find. Press a few big beads or chunky buttons into the slime and let your child dig them out with their fingers. Count the treasures out together and count them back in again, so nothing is ever left inside the slime when it goes back in the tub. Best for ages 4–5, and always supervised.
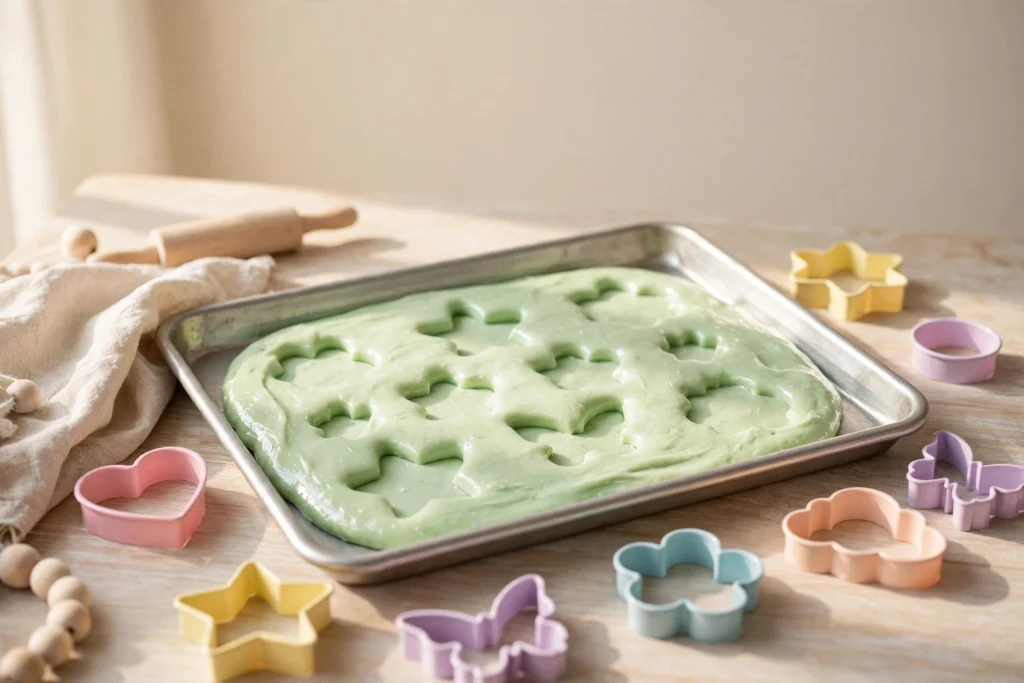
6. Letters and shapes. Press cookie cutters into flattened slime to stamp out stars, hearts and animals — or roll thin ropes and bend them into the letters of your child’s name. It is letter play they can squash and redo as many times as they like, which is exactly how early letter learning should feel.
Storage and cleanup
Storing it. Keep the slime in an airtight tub or a sealed zip bag in a cool place — no fridge needed. Stored by an adult, out of reach of under-3s and pets. It keeps for 1–2 weeks of regular play; playing with it keeps it soft and worked. Throw it away sooner if it smells off, grows anything, gets gritty with floor dirt, or has been played with by a child who has been sick.
Washing up. Hands wash clean with warm water and soap. Dried slime on the tray or table scrapes off and the last traces wash away with warm soapy water.
On clothes or fabric. Pick off as much as you can, then soak the spot in warm water with a splash of white vinegar — vinegar dissolves PVA glue, which is most of what slime is. Wash as normal afterwards. This washable-glue recipe is forgiving, but aprons still earn their keep.
In the bin, never down the sink. When a batch is finished, it goes in the household bin. Never wash lumps of slime down the sink or drain — it can clump in pipes. The rinse water from washing hands is fine; the lumps are not.
Under 3? Start here instead
If your child is under 3, slime is a “when you’re bigger” material — toddlers learn by mouthing, and slime is not food. The good news is that toddlers get the same squishy, stretchy sensory joy from safer things: our sensory activities for toddlers page has 25 ideas chosen for ages 1–3, and our no-cook playdough recipe is the taste-safer dough for little hands — made from kitchen ingredients, with a grown-up supervising as always. Save this slime page for the third birthday, and it will feel like a real promotion.
Slime questions parents ask
Is slime safe for kids?
Made this way, yes — for the right age and with a grown-up in charge. This recipe uses washable school glue, bicarbonate of soda and contact-lens saline, and it is made entirely by an adult. It suits ages 3–5: hands washed before and after, play on a tray away from carpets and hair, and it is never eaten. Stop and bin the batch if it irritates your child’s skin. This recipe does not use borax powder, and children should never mix dry powders into slime themselves.
Can toddlers play with slime?
No — slime is not a toddler material. Under-3s put everything in their mouths, and slime must never be eaten, so for this age it is a firm no, however closely you watch. Toddlers get the same pressing, squishing and stretching fun from safer sensory play: see our sensory activities for toddlers and the playdough recipe instead, and keep slime for age 3 and up.
Why is my slime too sticky?
Usually one of three reasons: it is brand new (fresh slime firms up as it rests and is kneaded — give it a full two minutes of kneading before changing anything), the saline went in all at once and didn’t mix evenly, or the saline doesn’t contain boric acid or sodium borate, so it never really activated. Fixes: knead longer, then add saline a few drops at a time. If the label check fails, that batch cannot be rescued — start again with a buffered saline.
How long does homemade slime last?
About 1–2 weeks in an airtight tub, played with regularly. It is done when it turns watery, stringy-soupy, smelly or dirty — slime that has lived on a play tray collects the world. Because a batch takes ten minutes and costs very little, fresh is always better than rescuing a sad old batch.
Read next
- Sensory Activities for Toddlers — the safe sensory ideas for under-3s, who are too young for slime
- Easy No-Cook Playdough Recipe — the taste-safer homemade dough for little hands
- Activities by Type — all our activity ideas by kind: sensory, fine motor, indoor, outdoor and more