
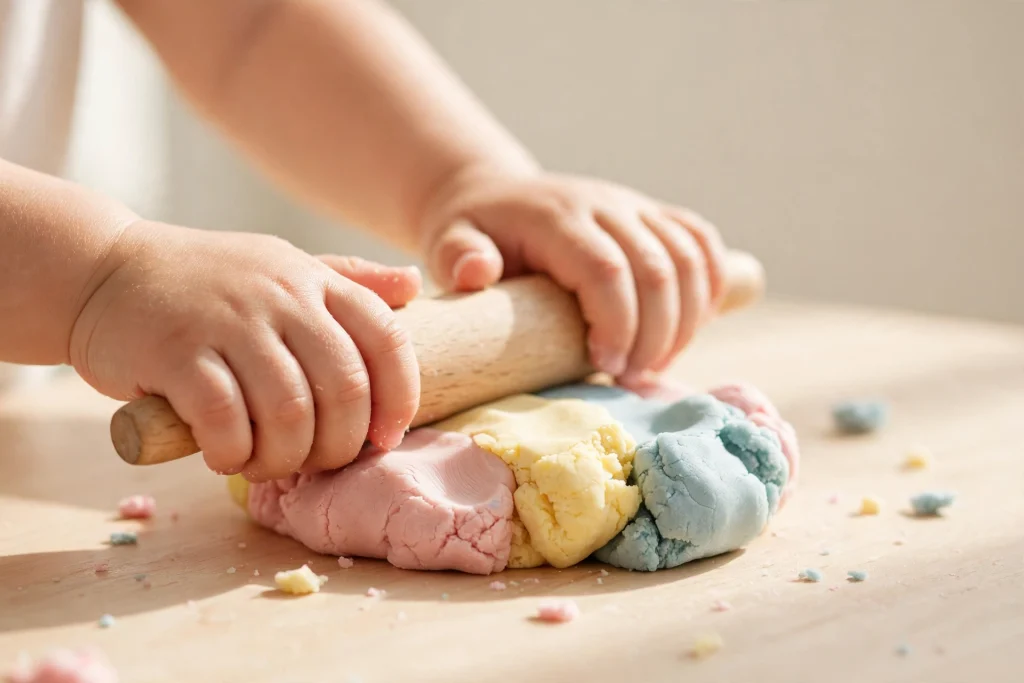
Short answer: mix 1 cup plain flour, ½ cup fine salt and 2 tablespoons of cream of tartar in a bowl, stir in 1 tablespoon of oil and 1 cup of boiling water with your food colouring, then knead for 3–4 minutes. That is it — no cooking, soft playdough in about 10 minutes, and it keeps for months in an airtight container.
Recipe card
Prep time: 10 minutes (plus a few minutes to cool)
Method: no-cook — boiling water does the work (an adult step)
Makes: 1 batch — one large ball, roughly 450 g (1 lb), enough for 2–3 children to share
Keeps for: up to 3 months in an airtight container (often longer — see storage notes)
Age for play: from about 12 months, always supervised; the dough itself is made by an adult
Ingredients
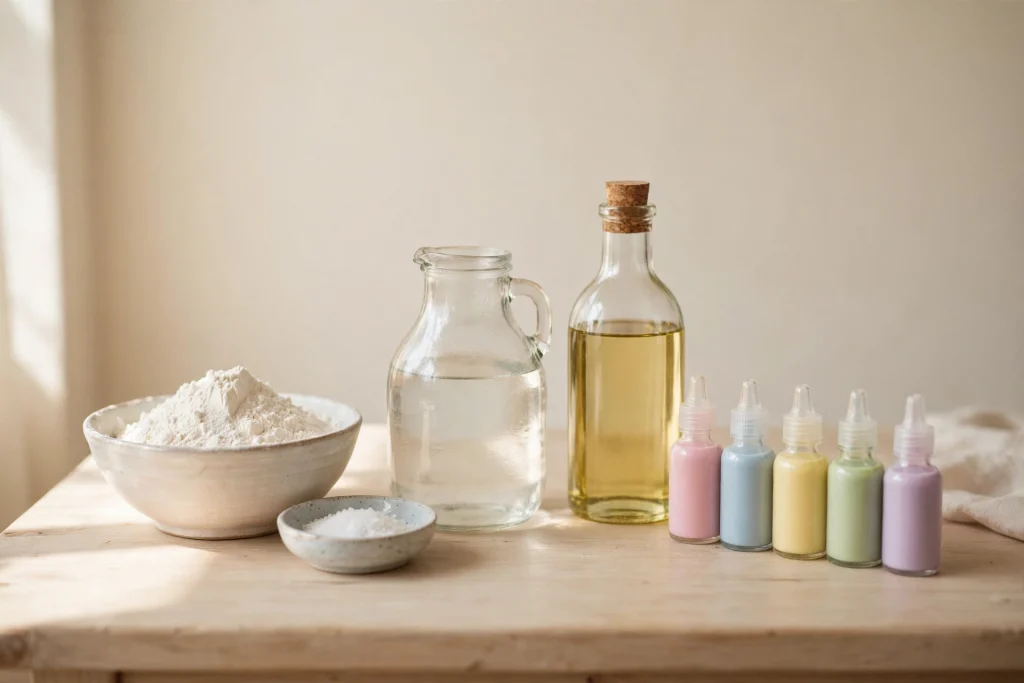
- 1 cup (125 g) plain flour (all-purpose)
- ½ cup (150 g) fine table salt — fine salt dissolves smoothly; coarse salt makes gritty dough
- 2 tablespoons cream of tartar — this is what makes the dough soft, stretchy and long-lasting
- 1 tablespoon vegetable oil (or coconut oil)
- 1 cup (250 ml) boiling water — freshly boiled, handled by an adult only
- Food colouring — a few drops of one colour, or leave the batch plain and colour smaller balls afterwards
Equipment: a large mixing bowl, a spoon, a measuring cup, a kettle, and a clean board or table for kneading. An apron is a good idea — food colouring stains clothes and hands for a day or so.
Method
1. Mix the dry ingredients. Put the flour, salt and cream of tartar in the large bowl and stir them together well. Even mixing now means no salty patches later.
2. Boil the water. Fill the kettle and let it come fully to the boil. This step — and step 3 — are adult-only; send little helpers to choose the colour while they wait.
3. Add oil and colour to the water. Pour 1 cup of the boiling water into the measuring cup, then stir in the tablespoon of oil and your food colouring. Colouring the water (not the dough) spreads the colour evenly with no marbled stage.
4. Pour and stir. Pour the hot coloured water into the bowl and stir with the spoon. The mixture will look shaggy and a bit lumpy at first — that is normal. Keep stirring until it comes together into one rough ball and the bowl is mostly clean.
5. Rest for two minutes. Leave the dough in the bowl for 2 minutes. Fresh playdough always feels slightly sticky at this point; it firms up as it cools and rests. Do not add flour yet.
6. Knead. Tip the warm dough onto a lightly floured board and knead for 3–4 minutes, folding it over and pressing it down with the heels of your hands, until it is smooth, soft and no longer sticky. If it is still tacky after kneading, see the fixes below before adding anything.
7. Cool completely, then play. Let the dough cool fully before small hands take over. Warm dough is safe once it feels comfortably warm, not hot, all the way through.
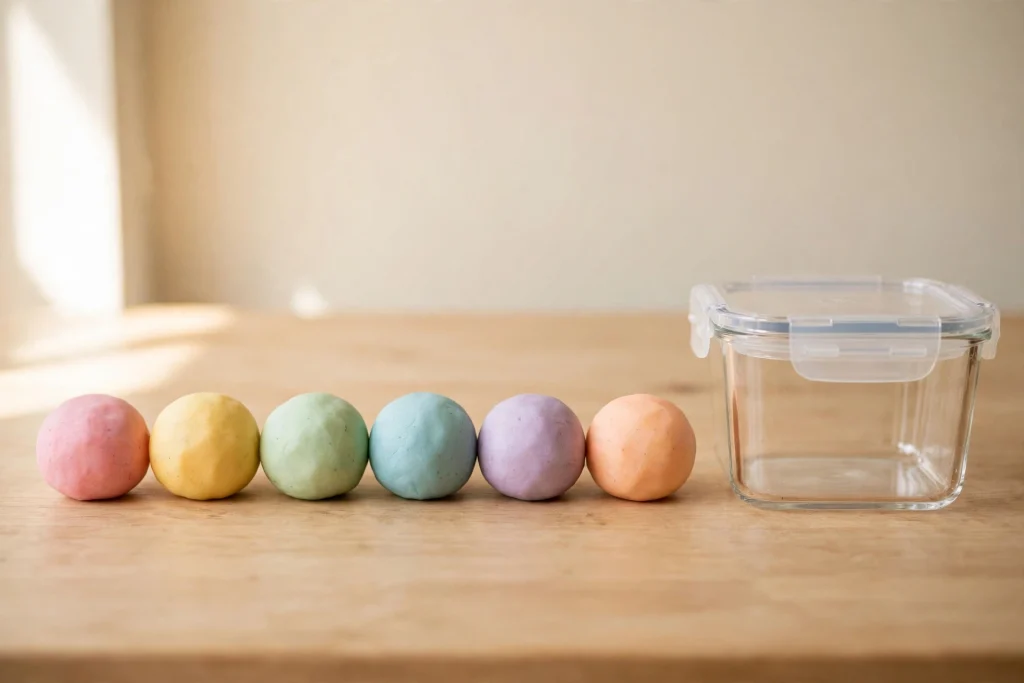
Double batch: for a playgroup or several colours in one session, simply double every quantity. To make several colours from one batch, skip the colouring in step 3, knead the plain dough, divide it into balls, press a thumb-hole in each, add a few drops of colour and knead each ball inside a zip bag (clean hands, even colour).
Variations
Colours. Gel colouring gives the brightest dough for the fewest drops. Pastel shades need just one drop; primary colours need three or four. Split-batch colouring (method note above) is the easiest way to get a whole rainbow from one recipe.
Scents (all food-safe). Knead in one of these at the end of step 6: 1 teaspoon of vanilla extract for a sweet bakery smell; a few drops of lemon or peppermint extract; 1 teaspoon of ground cinnamon or mixed spice for a warm “baking day” dough; or 2 tablespoons of cocoa powder (add it with the flour in step 1) for chocolate dough that looks and smells like the real thing.
Natural dyes. Instead of food colouring, colour the boiling water with: turmeric (1 teaspoon — golden yellow), beetroot juice (a few tablespoons swapped for part of the water — soft pink), cocoa powder (brown), or strong spinach water (pale green). Colours are gentler than bottled colouring, and the dough smells faintly of the kitchen garden.
Glitter. Knead 1–2 tablespoons of fine glitter into the finished dough for sparkle dough — best for children aged 3+ who are past the mouthing stage, and always supervised.
Texture add-ins. For older toddlers, knead in a tablespoon of dry oats, rice or poppy seeds for a bumpy sensory dough, or press the finished dough with forks, shells and pinecones to make patterns.
Without cream of tartar
Cream of tartar is worth buying — it is cheap, one tub lasts for many batches, and it is the reason this dough stays soft for months. But if you have none today, you can still make dough: replace the cream of tartar with 2 tablespoons of lemon juice or white vinegar and follow the recipe exactly as written. The dough will be a little less stretchy and keeps for about two weeks in an airtight container rather than months, which is fine for one rainy weekend. What does not work is leaving the acid out altogether — without cream of tartar, lemon juice or vinegar, the dough turns out stiff and crumbly and dries out within days.
Storage and troubleshooting
Storing it. Keep the dough in an airtight container or a sealed zip bag at room temperature — no fridge needed. Squeeze the air out before sealing; air is what dries dough out.
How long it keeps. The main recipe keeps for up to 3 months, and often longer if it is played with regularly (playing re-works the oils through the dough). The no-cream-of-tartar version keeps for about two weeks.
Too sticky? First, wait — fresh dough is always stickier than rested dough, and kneading for another minute usually fixes it. If it is still tacky, knead in plain flour one teaspoon at a time. A spoonful too much flour is the fastest way to ruin a batch.
Too dry or crumbly? Wet your hands and knead — repeat two or three times. For very dry dough, knead in boiling water a few drops at a time, or a quarter-teaspoon of oil for dough that cracks at the edges.
Dough gone hard in the tub? If it is dry but clean, knead in drops of water and leave it sealed overnight; most batches recover.
When to throw it away. Throw the batch out and make fresh dough if it smells sour or “off”, feels slimy, shows any mould, or has been played with by a child who has been sick. Homemade dough is cheap — never keep a doubtful batch.
Salt crystals on the surface after a quiet week are normal: knead the dough for a minute and they disappear back into it.
Safety notes — please read
- Boiling water is for adults only. Every hot step in this recipe (steps 2–4) is done by an adult, away from children. Let the dough cool completely before play.
- This dough is not food. It is made from kitchen ingredients, but the high salt content makes it taste awful and it is not meant to be eaten. A curious taste is very unlikely to harm a healthy toddler — the saltiness stops almost every child at one lick — but supervise play, discourage eating, and if your child eats a large amount, call your doctor or local health line for advice.
- Salt and pets. Store the dough where dogs cannot reach it — salt dough can make pets seriously ill.
- Always supervise. Stay nearby during play, especially with children under 3 and whenever add-ins (rice, seeds, glitter) are in the dough.
- Allergies. The recipe contains wheat (gluten). If your child has a wheat allergy, ask your doctor about a certified gluten-free flour version before making it.
- Wash hands before and after play, and clean the play surface — dough picks up whatever is on the table.
Ways to play with it
Fresh dough is a fine-motor gym in a tub — the same pressing, pinching and rolling that small hands need before they can hold a pencil with control:
- Poke and squash: hide big beads or buttons in the dough for little fingers to dig out (supervised, age 2+)
- Roll and snip: roll dough “snakes” and snip them with child-safe scissors — the easiest first scissor practice there is
- Stamp and print: cookie cutters, forks, bottle tops and textured rollers turn one ball of dough into an hour of patterns
- Pretend baking: cupcake cases, birthday candles (unlit) and a play rolling pin make a bakery that never runs out of stock
- Faces and feelings: a dough ball, two button eyes (supervised) and a string smile — a gentle way to talk about happy, sad and surprised
For the full set of hand-strengthening games that pair with dough play, see our fine motor activities page in “Read next” below.
Playdough questions parents ask
How long does homemade playdough last?
This recipe keeps for up to 3 months in an airtight container at room temperature — often longer. The cream of tartar is the reason: it keeps the dough soft and slows it drying out. The version without cream of tartar lasts about two weeks. Throw any batch away if it smells off, turns slimy or shows mould.
Can you make playdough without cream of tartar?
Yes — swap the cream of tartar for 2 tablespoons of lemon juice or white vinegar and follow the same method. The dough is slightly less stretchy and keeps for about two weeks instead of months, but it works perfectly well for a weekend of play. Leaving the acid out completely does not work; the dough comes out stiff and crumbly.
Is it safe if my toddler eats a little?
A taste is not a problem for a healthy toddler — the dough is made from flour, salt, oil and water, and it tastes so salty that nearly every child spits it out at the first lick. It is not food, though: supervise play and keep stopping mouthfuls. If your child eats a large amount, or seems unwell, call your doctor or local health line for advice. And keep the dough away from dogs — salt dough can make pets seriously ill.
Why is my playdough sticky?
Almost always one of three reasons: it is still warm and new (rest it for a few minutes and knead again — sticky dough usually firms up on its own), the water measurement ran a little heavy, or the flour measurement ran light. Fix it by kneading in plain flour one teaspoon at a time. Next batch, measure the boiling water carefully and add it in two pours, stirring between them.
Read next
- Fine Motor Activities for Toddlers — 25 hand-strengthening games that pair perfectly with dough play
- Activities by Type — sensory play, learning activities, indoor and outdoor ideas